Instagram may be focusing on promoting video right now, but it’s still a great place to share eye-catching photography. Here are some tips and tricks to help your photos compete with the sudden influx of videos.
1. Photographing For Success
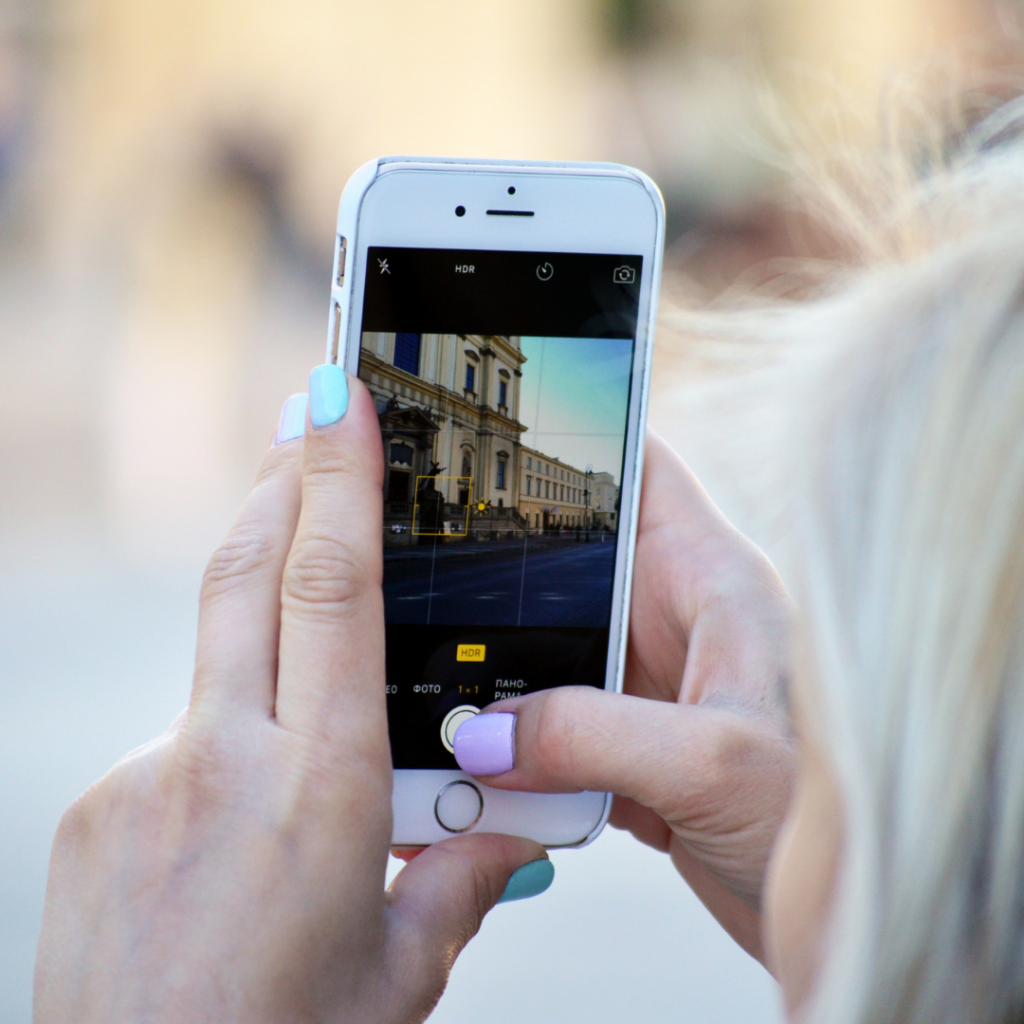
Have you ever taken a great photograph, only to find that when you upload it onto Instagram it has cropped out the best part? Before you begin taking photographs for your post, you have the option of putting your camera into “Square” mode. This setting can be accessed by swiping up on your phone from the bottom, clicking on “4:3,” and changing the mode to “Square.” It will ensure that everything you see in view will be in the photograph for your post. This works for almost all platforms except Twitter, so if you use this suggestion make sure you have two featured shots that you’d like to use. Twitter’s algorithm will place these side by side and you won’t have any issues with your image being cut off.

2. The More The Merrier: Utilizing The “Carousel” Feature
If you’ve taken all your photos using the previous tip, you can skip to tip 3, but if you have both horizontal and vertical images you’d like to use, you have two ways to make these work:
-
Instagram, by default, will crop your images and you will have to shift them around to feature the best focal point of your shot
-
Or you can use the expand arrows (located on the bottom left of your upload), to put your photo into full view.
Once you have set up the angle you’d like, you can now toggle on the “Carousel” function and the rest of your images will take on the same angle as well. Pro Tip: although the expanded view will enable you to have your full photo featured on the home page feed, Instagram will still crop your photo in your grid feed, so make sure that the first photograph you choose will still look good when cropped on your grid, if you chose to use the expanded view.
3. Editing Is Everything
You may not realize just how many filters and editing features Instagram has to play with.
If you’re uploading a single photo these options will be located at the bottom and are very easy to navigate. If you’re working with multiple photos, these can be a bit more tricky to find. First, arrange your photos in the way you’d like them to appear to your audience. You can do this by clicking and holding the image, and then dragging it to the position you would like it to be in.
Now let the fun begin! Once these images are organized, click “Next” and bring your attention to the row of filters at the bottom. If you tap on one, this will change all of your photos to have the same effect on them, and you can click on this filter a second time to adjust how much or little of effect you want to use. This is a quick and easy way to add a little extra pop to your photographs.
If you’re more detail-oriented, or if you’re wanting each photograph to have a different feel to it, click on the individual photograph instead. This will bring you to a menu that is set up in the exact same way as if you were uploading a single photo. You will be able to fine tune all of the settings, from brightness to color tones, and make each photo look exactly how you envisioned them to be.

Before Editing

After Editing
4. Happy Accidents Make For Even Better Stories
Are you someone who likes to leave the “Live Photo” feature on your phone? Instagram now gives you the option to turn these into a Boomerang. You can access this on a feed post by clicking on the live photo you want to use, and Instagram will automatically turn it into a Boomerang. If you want to use the photo on your story instead, look for the infinity symbol at the very top, that will give you the option of four different modes to create a great moving photo for your story.
5. Sometimes Secrets Can Be A Good Thing
Have you ever noticed that Instagram puts a background color to horizontal images on your story? If you don’t like the colors they’ve chosen, there’s a great workaround for this. Scroll through all your images and select one that you do like the background of. Then, once it’s in the center of your story, click and hold onto the image with two fingers and drag it all the way to the bottom, until it is out of view. You now have the colors you want and a blank canvas to work with. Add in a new image by either copying it from your phone’s photo reel and pasting it into your story, or by clicking the smiley face icon up top and then selecting your photo reel from the options there. This is a great way to make a collage as well and add in multiple photos to the same slide of your story.
The image isn’t the only item that can be hidden. Stories are a great way to utilize hashtags and handles, but they can leave things looking very cluttered. You can take these and drag them out of the picture as well. They will still be seen as a tag by Instagram’s algorithm, and now you have a clean and professional look to your slide.
Have some fun with this and let us know if you’ve discovered something recently that might help others get the most out of every post.
Don’t want to worry about all these tricky steps yourself? It might be time to hire an agency like ROOT to bring the social media expertise needed to take your content to the next level. Give us a call or send us a message to chat about how we can help you achieve success!