I’ve been shooting food and fine dining for two years for a global hospitality group. When I first started out, I knew I was passionate about photography and desperately wanted to be good at it – but I was terrified. I started out knowing next to nothing about the subject. I lived and breathed the food & beverage industry, religiously followed food blogs, obsessively flipped through issues of Bon Appetit and Food & Wine– so I thought that knowing the industry and having the “eye” for it was enough. Boy, was I wrong! Comparing my photography from two years ago to now, it’s amazing what you’re able to learn from experience alone. There’s also a wealth of resources available from other food bloggers on the internet – free e-books, podcasts, newsletters, you name it! I shoot for my restaurant group right now on the side of my digital marketing duties, so I haven’t had the chance (or the time!) to start my own freelance photography work outside of my full-time gig. However, I have a few friends that have been extremely successful with this and love it. So whether you are trying to learn more about food photography for your current full-time hustle or for your side gigs, here’s some tips & tricks to help get you started.
Equipment
Gear can be a really intimidating and overwhelming concept if you’re new to photography. Luckily, anyone can take professional-looking photos with their iPhones in this day & age! If you want to learn how to take better food photos with your iPhone, I highly recommend checking out this article from Insider. But if you’d like to take the next step towards food photography with a DSLR camera, you’ve come to the right place.
If you’re a beginner, I highly recommend checking out the Canon Rebel T3i. This camera is the perfect starter DSLR that will not break the bank. Once you feel more comfortable and have a few months-years of photography practice under your belt (everyone progresses differently!) – then I would recommend checking out the Canon D Series Cameras.
Once you purchase your camera body, a lens is the most important accessory you can buy. The best food photos are possible because of lenses, not just camera bodies. Most food photographers use a 50mm lens (personally that’s what I use 90% of the time!) Better yet, a 50mm lens is inexpensive, easy to use and very lightweight.
Another accessory that I use religiously is my reflector. Before I bought a reflector, I’d just bring a white foam board to my shoots that would work just as well! The reflector I have now is just easier to travel with. I use this one.
Make a Mood Board
Remember when you used to make collages in middle school from all your favorite magazines? Channel that inner middle schooler and pull photos from your favorite food publications & websites. Whether its a print and post or online Pinterest board, create your own style. It’s important to figure out what your style of photography is before pursuing a career in it. Many PR companies will recommend a list of photographers to their clients because everyone has a different style. Is your style vibrant? Does it involve a lot of darker tones? Is it rustic and natural or clean and modern? Time to start adult collaging!
Play with Props
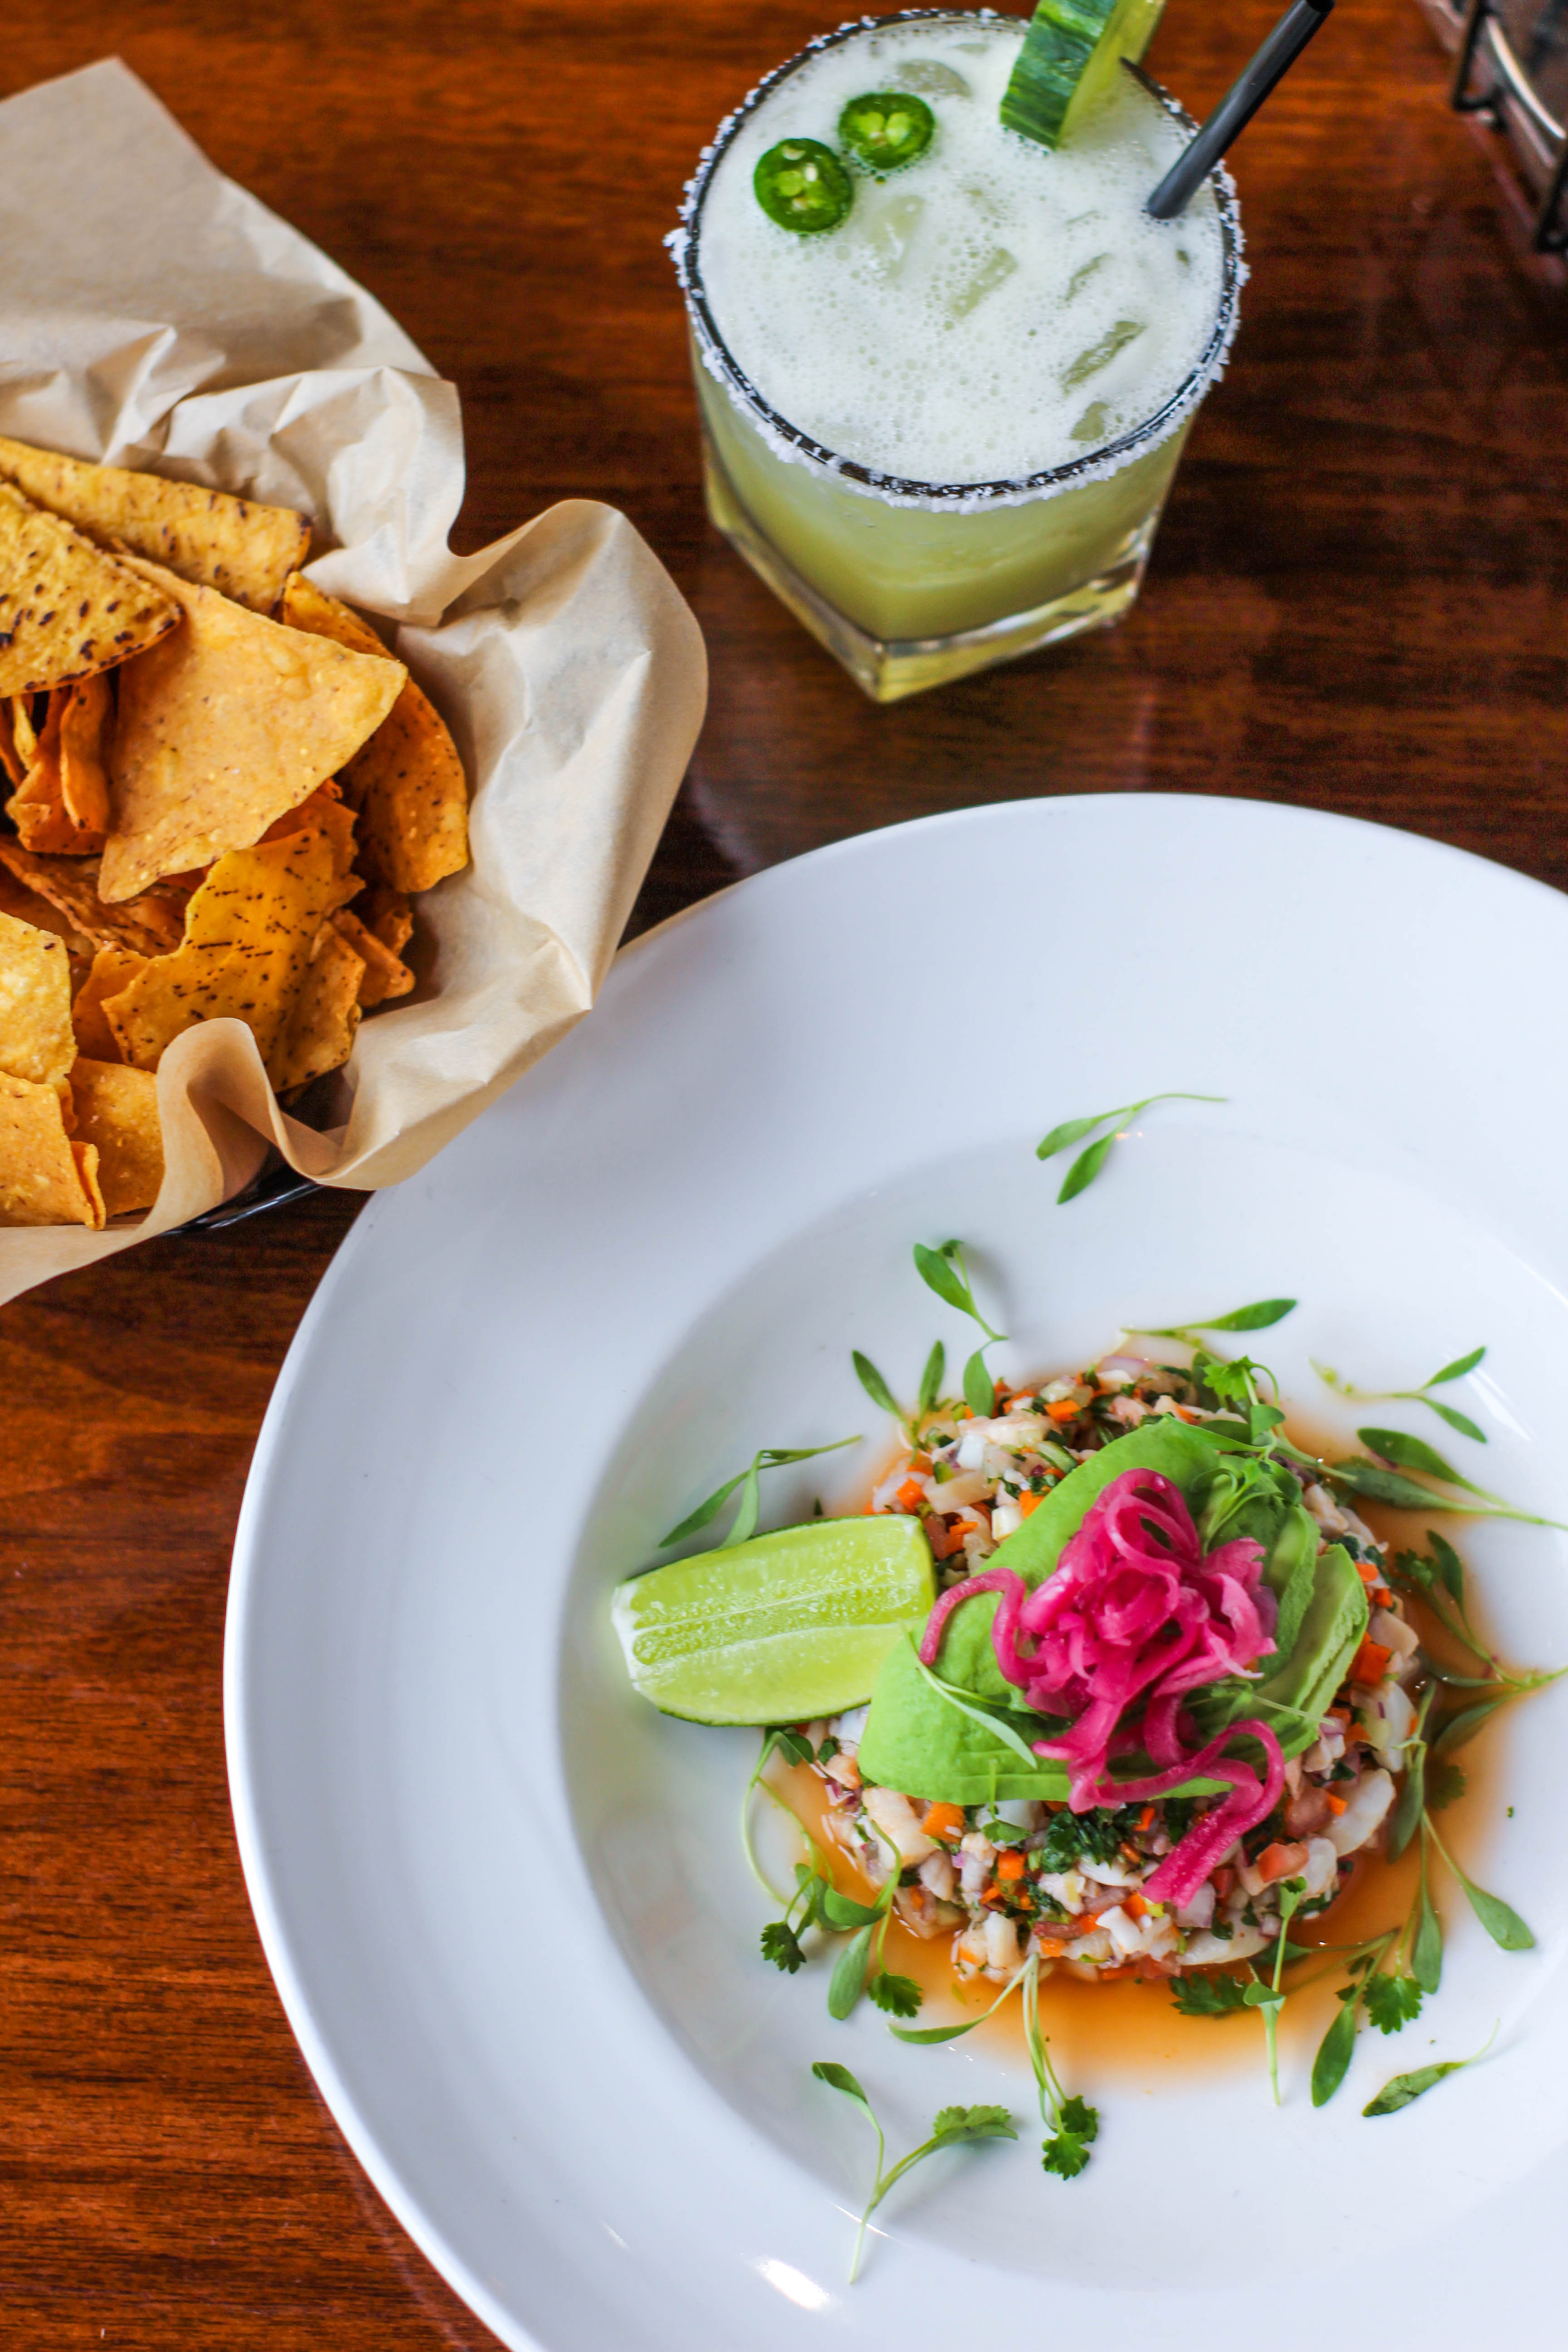
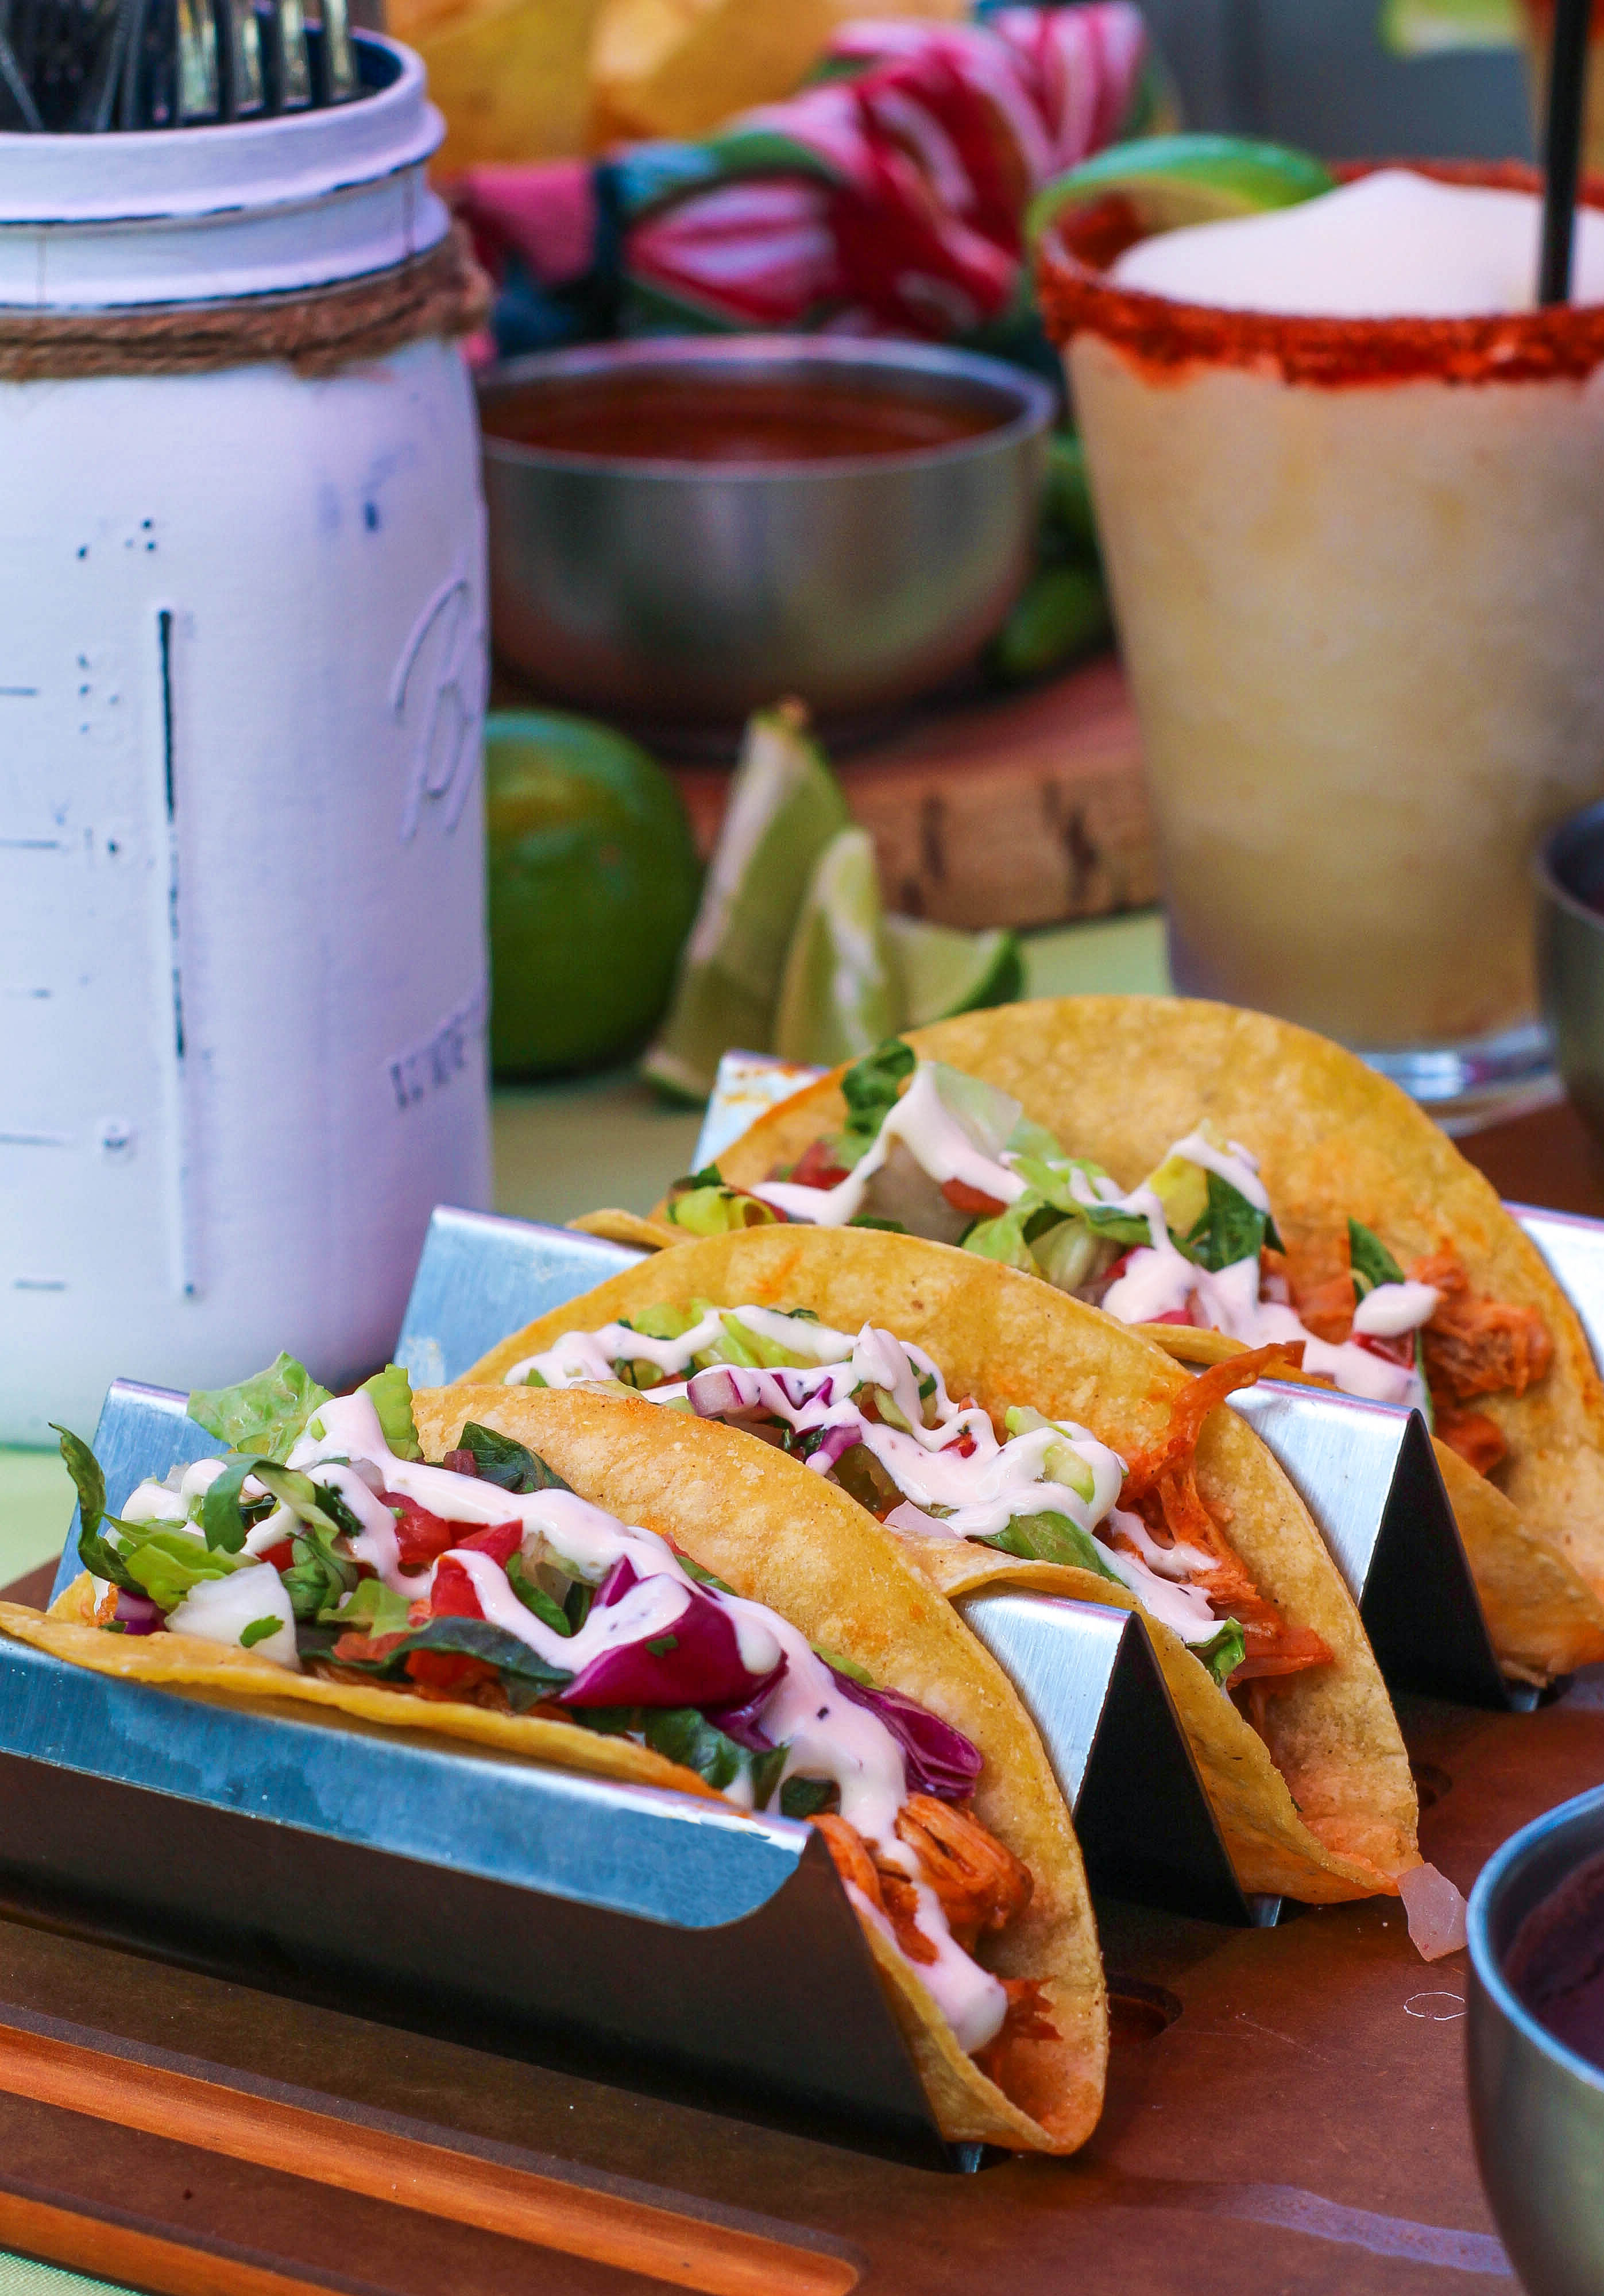
Come prepared! I always have flowers, succulents or some kind of prop to play with during shoots. In the photo on the left, I got my inspiration from an entertaining cookbook where the author scattered limes and colorful napkins around the table and used painted ball jars for silverware. It really worked for our cantina in Atlanta where the food reflects the vibrant flavors and colors of Mexico.
Natural Lighting is Your Best Friend
When I’m shooting at my company’s restaurants, I bee-line it to the nearest window to set up or corner window area. Natural lighting makes the biggest difference in your photos. Artificial lighting can get very tricky, so I highly recommend taking advantage of natural light. Once you’re set up by a window, play around with your settings to compliment the light. Sometimes I take a few photos by different windows, review them and then choose which window I like best.
Play with Focus
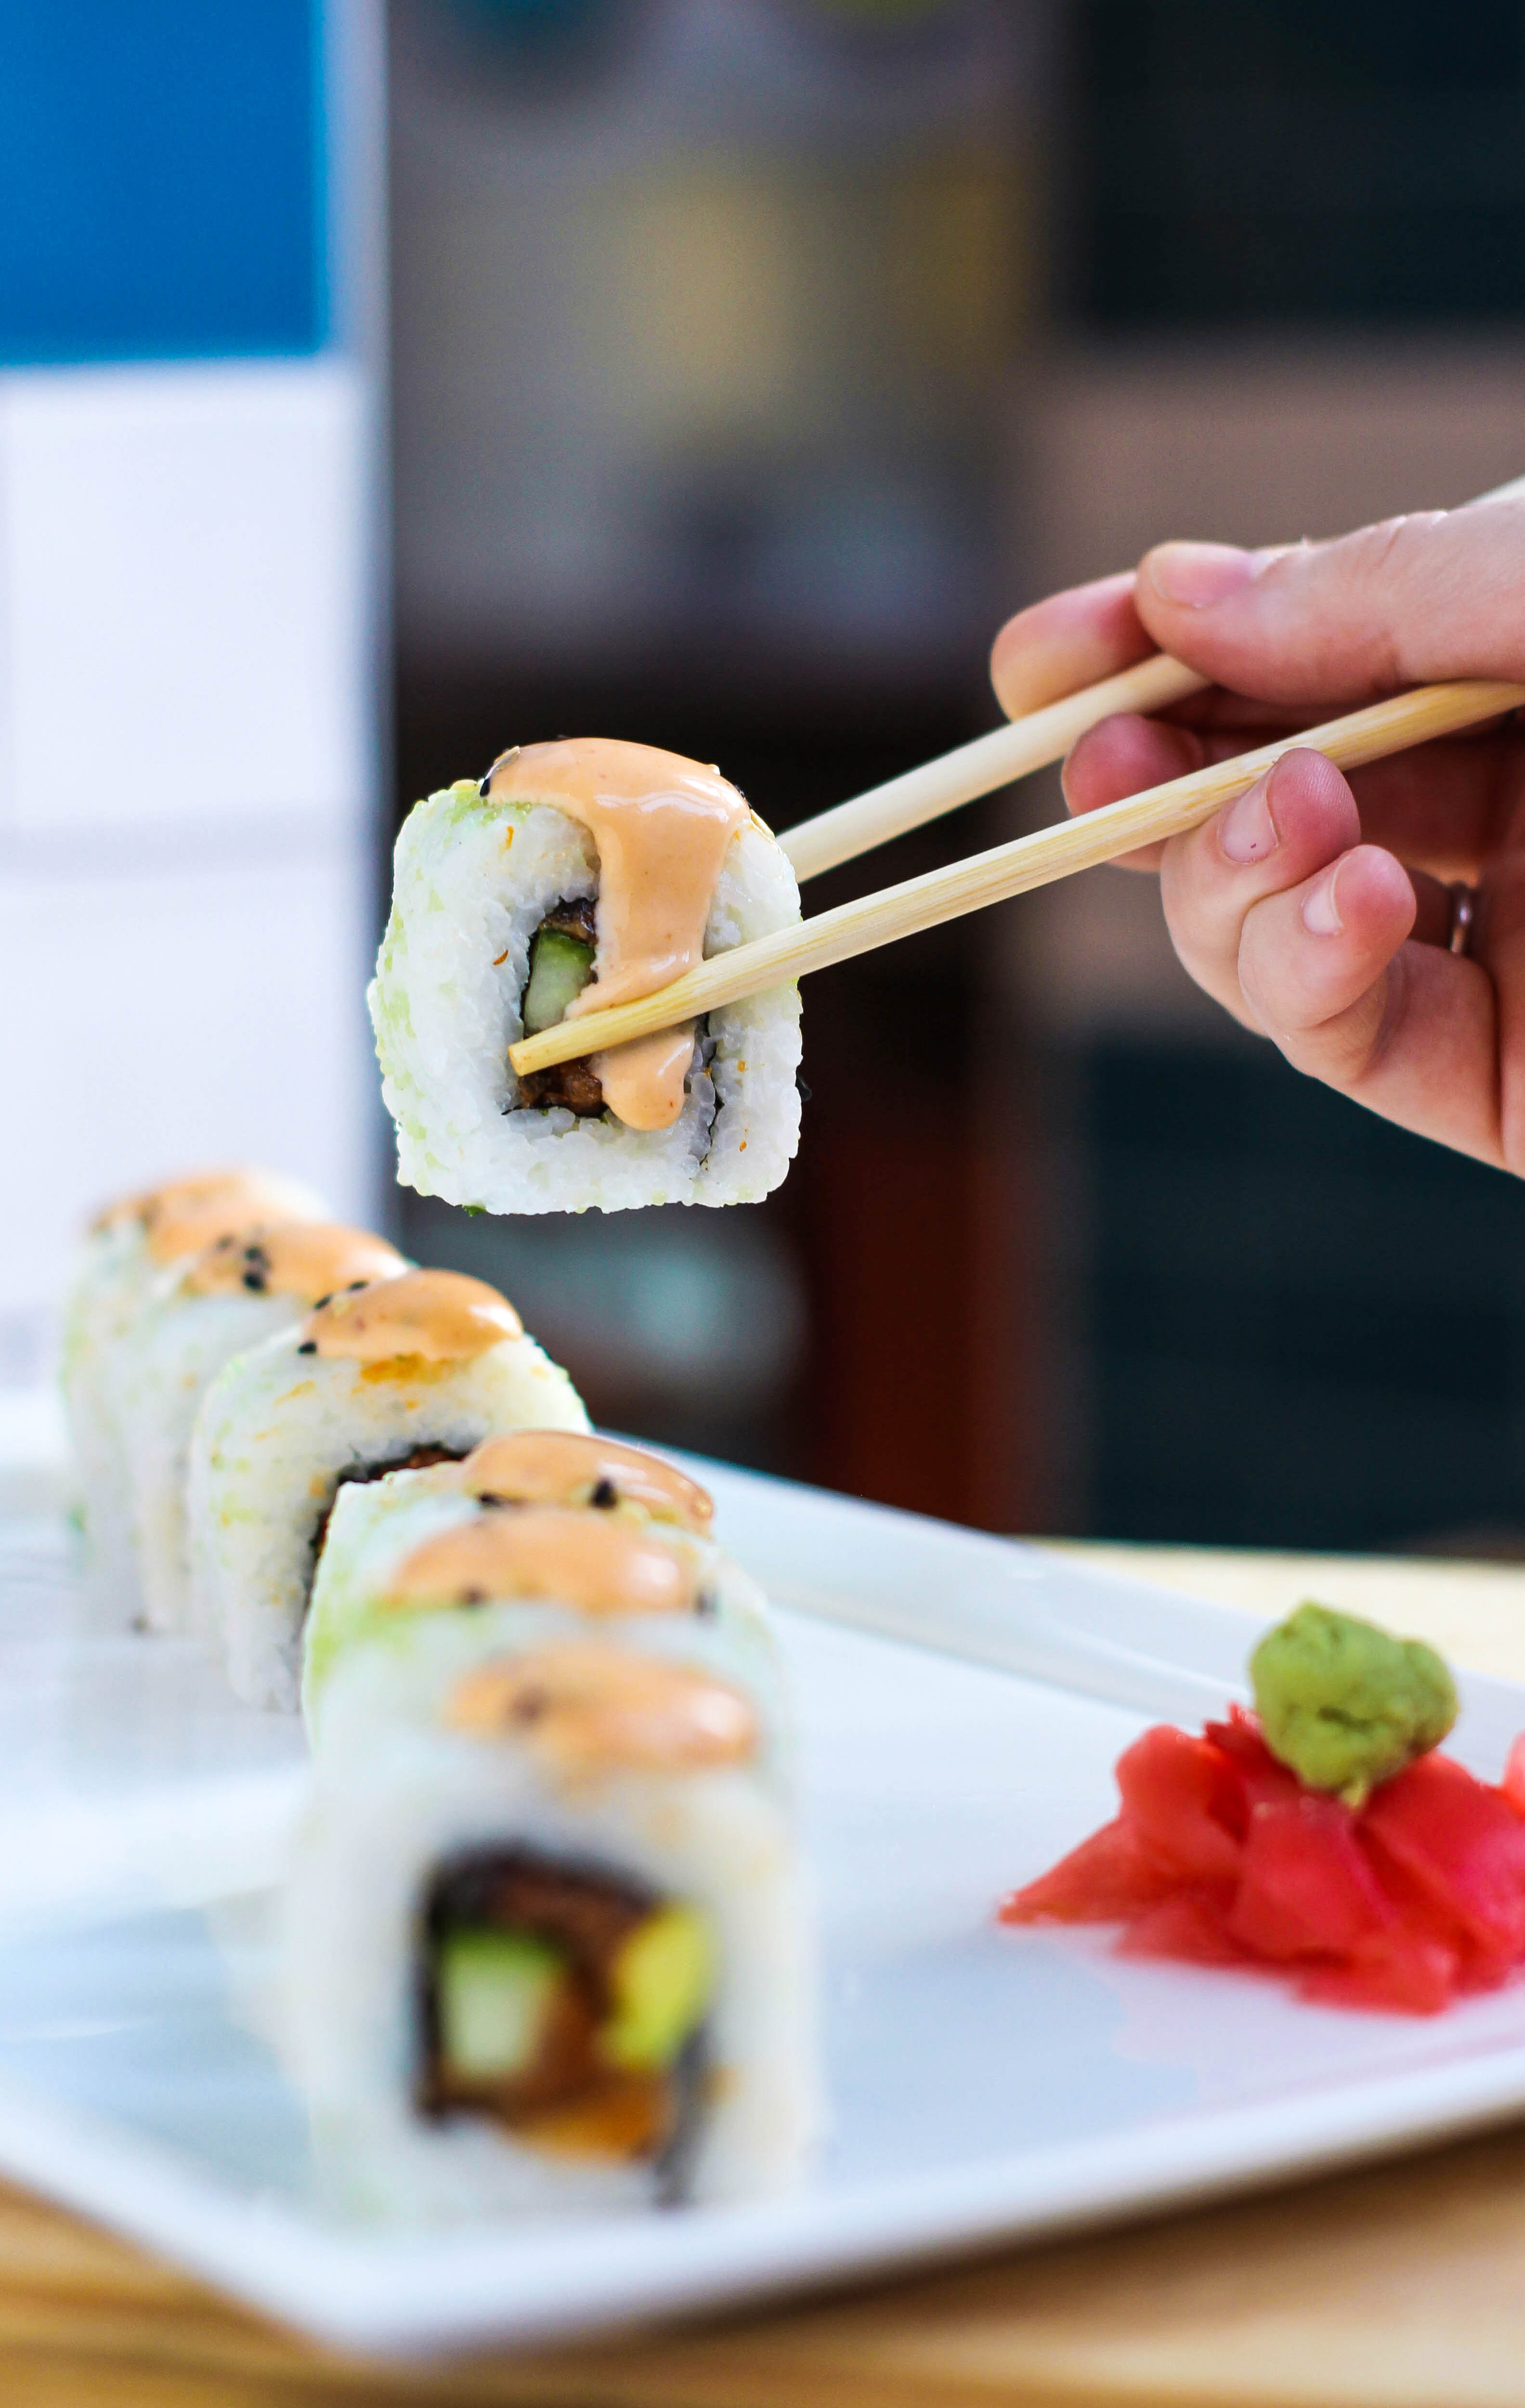
Make sure you adjust your focus based off what you’d like your viewer’s eye to be drawn to. For example, in the sushi shot below, I could have focused on the first sushi in the lineup. However, it was more fun to focus on the chopsticks pulling a piece out of the lineup – giving the message that the sushi is edible & delicious and inviting the viewer to visit the restaurant and try it out.
Use Colors
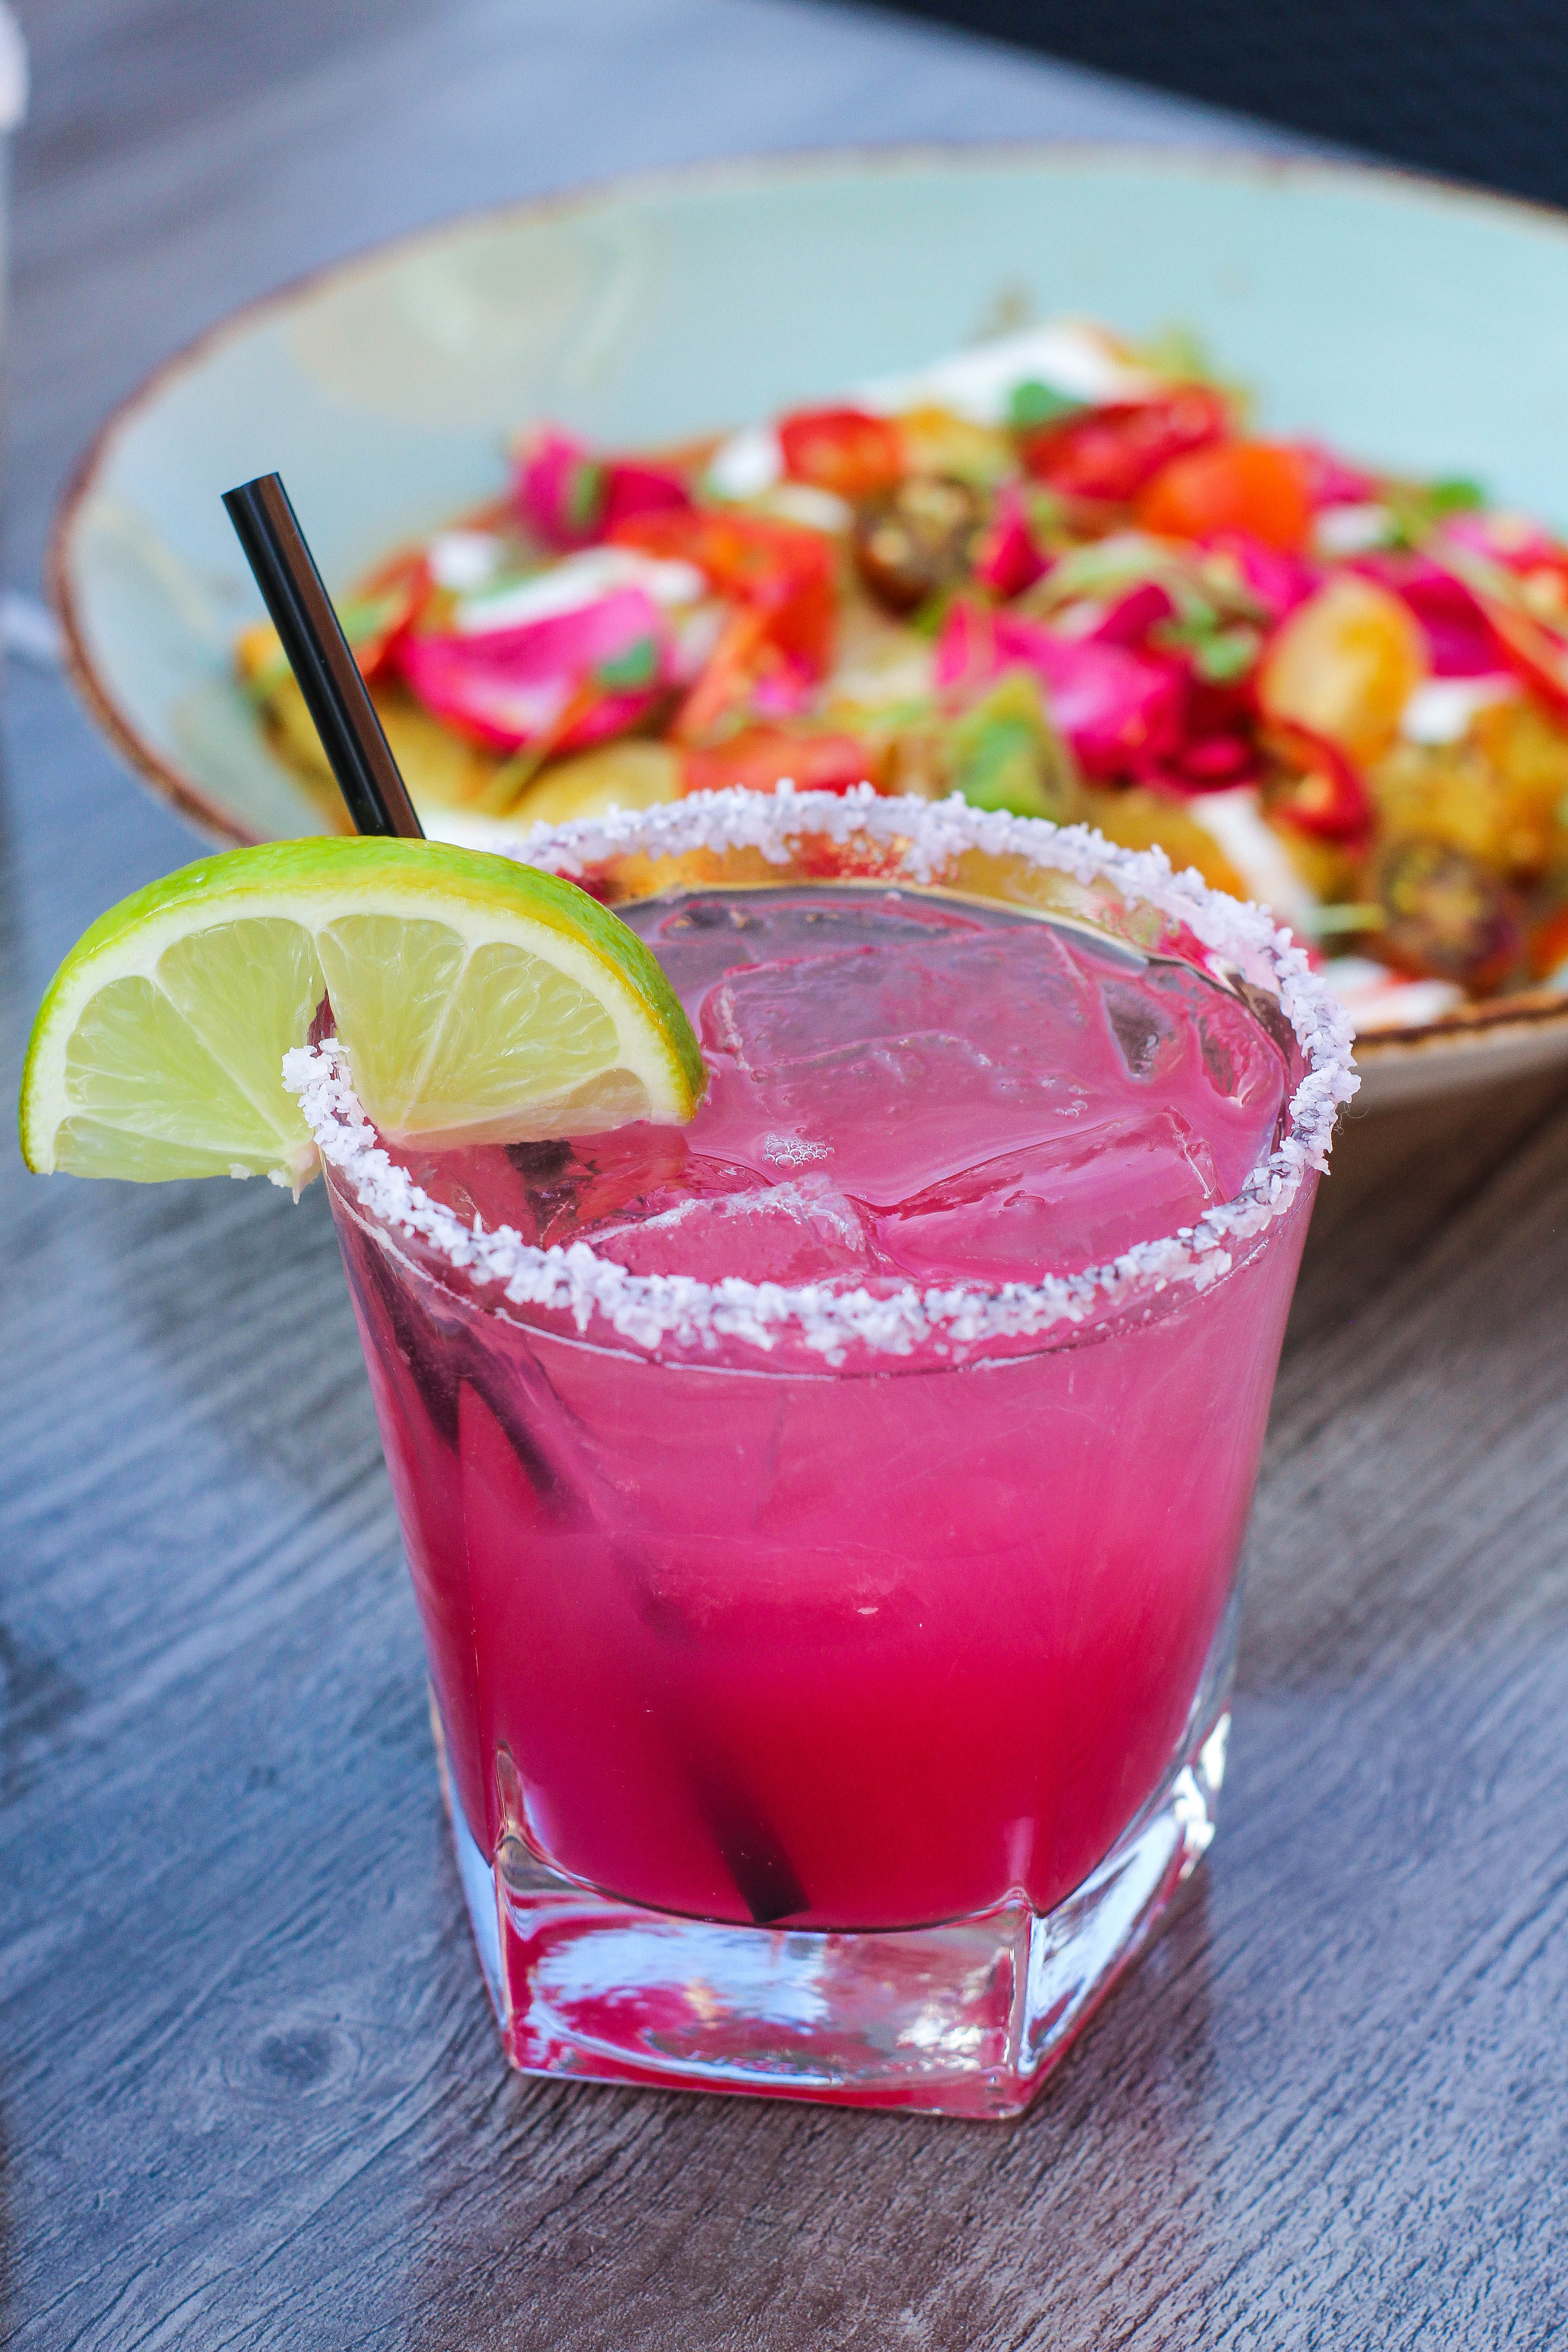
When I’m shooting at the restaurants, I always look at what dishes pair well with certain drinks. For example, if you look at the photo of the drink below, I saw that a vibrant Prickly Pear Margarita paired well with the pickled onions on the chicken enchiladas I was shooting. The two complemented each other perfectly and made the shoot more vibrant and gave it a spring/summer feel – which is exactly what I was aiming for.
Editing
I can’t stress this enough. Editing can take your photos from good to amazing – even if you’re a beginner. I use Lightroom for all my editing. It’s extremely user-friendly, and can perfect your photos. I hate to admit this, but there were a few days where I shot without my glasses and was extremely disappointed with my blurry photos once I loaded them up on my computer. I was able to salvage about half of the shoot due to editing in Lightroom! Another helpful trick in Lightroom is presets. Lightroom presets are pre-developed settings that you can apply to your photos to give them a different look. There are a lot of free Lightroom presents available online provided by food bloggers and available on Creative Market. Or, you can even create your own Lightroom presets to save time when editing – for example, if I’m editing a batch of 150 photos from a shoot with the same lighting/composition, I can edit the first photo in my batch and then save as a preset & apply to the rest of my photos. More on that here.
I hope that this helps you get a basic idea of starting out in food photography! Practice, practice, practice – the more experience you have and better understanding you have of your camera, the more consistent you will become in your skills.
Cheers!